|
Listen to article
Getting your Trinity Audio player ready...
|
Are you a sublimation master but have never done anything with faux leather? So, looking for the best answer to how to sublimate on faux leather? Look no further! Sublimation is the key to adding that personal touch to accessories, clothing, or home decor items.
In this guide, I am going to take you through each step, making the process of sublimating on faux leather easy and fun. Get ready to transform everyday items into customized works of art that reflect your unique style. This guide is your ticket to unlocking the full potential of faux leather for your artistic endeavors. Let’s go on this creative journey and turn ordinary faux leather items into extraordinary expressions of your individuality.
Contents
How to Sublimate on Faux Leather
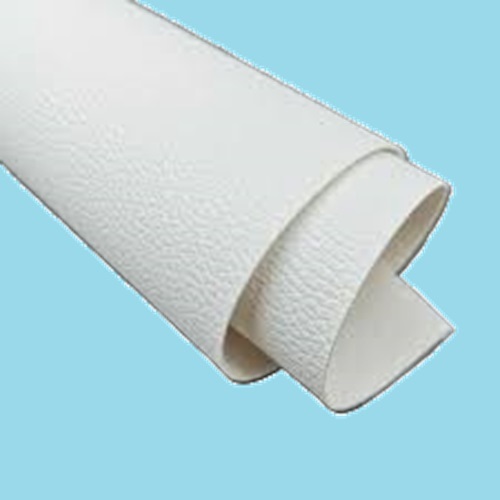
If you’re someone who loves working with faux leather or has been contemplating giving it a try, I encourage you to explore sublimation. It’s a game-changer that empowers you to turn your creative visions into tangible, one-of-a-kind pieces. You don’t need a small business to start; all you need is the passion to create and a willingness to embrace the art of sublimation on faux leather. It’s a journey that promises not just personalized items but a truly unique and fulfilling creative experience. Sublimating on faux leather opens up a world of creative possibilities, allowing you to personalize various items with vibrant and long-lasting designs. Here’s a detail of my adventure:

Materials Gathering:
- Faux Leather Items: Choose accessories, apparel, or decor items made from faux leather.
- Sublimation Paper: Specialized paper for sublimation printing.
- Sublimation Ink: Heat-activated inks compatible with your printer.
- Heat Press: An essential tool for transferring the design onto faux leather.
- Design Software: Create or customize your designs using graphic design software.
Step-by-Step Process:
Designing My Vision:
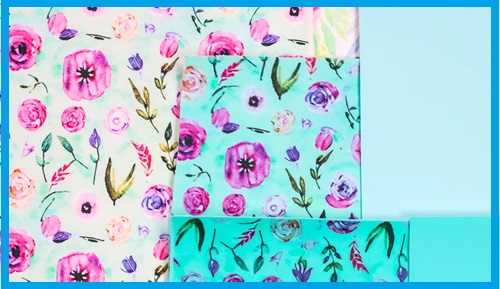
With design software at my fingertips, I let my creativity run wild. Crafting intricate patterns and vibrant colors to match the faux leather items’ dimensions added a personalized touch. Each design carried a piece of my artistic expression, making the process feel deeply personal.
Printing the Vision:
The moment of truth arrived as I loaded sublimation paper into the printer, armed with sublimation inks. Seeing my designs come to life on the paper heightened my anticipation. The quality of the prints was crucial, ensuring that the colors would transfer vividly onto the faux leather.
Preparing the Faux Leather Canvas:
Taking the time to clean the faux leather surface felt like setting the stage for a performance. Clearing away any dust or debris became a meticulous ritual, ensuring a pristine canvas for the impending transformation.
Aligning Elements:
Positioning the sublimation paper onto the faux leather called for precision. Placing the printed side down, aligning the design with the item’s contours, was a moment of careful consideration. It felt like setting the stage for a perfect fusion of art and material.
Heat Press Ritual:
Preheating the heat press marked the transition from preparation to execution. The hum of the machine resonated with anticipation as I carefully placed the faux leather item with the sublimation paper inside. Applying even pressure and setting the timer were steps that required a delicate balance, adding an element of suspense to the process.
Cooling and Unveiling:
As the heat press completed its task, the cooling phase seemed to stretch time. The moment of truth arrived as I gingerly peeled off the sublimation paper, revealing the transformed faux leather surface. The cooling process felt like the calm after an artistic storm, where the magic had taken place, and a new creation emerged.
Final Adjustments:
Inspecting the design for any imperfections was a meticulous yet satisfying task. In some instances, a touch of heat-resistant tape helped address minor issues, emphasizing the hands-on nature of the creative process.
Admiring the Personalized Creation:
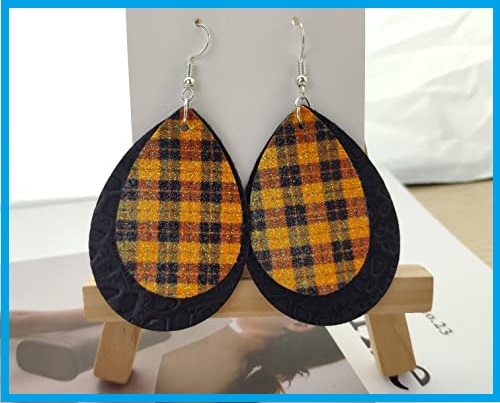
The culmination of the process brought forth a sense of accomplishment and joy. Admiring the faux leather items, now adorned with my custom designs, felt like witnessing the realization of a creative vision. Each piece had a unique story to tell, encapsulating my artistic journey.

Is Sublimation Possible on Genuine Leather?
Sublimating on genuine leather? Well, that’s a bit tricky. You see, genuine leather isn’t exactly the best canvas for sublimation. Unlike those sublimation-friendly materials, leather has its quirks.
Firstly, the texture of genuine leather can be a bit unmanageable. It’s got this natural, uneven surface that doesn’t play too well with sublimation inks. You might end up with an image that’s all wonky and uneven.
Then there’s the porosity. Leather is a bit like a sponge – it soaks stuff up, but not necessarily in the way you want for sublimation. The ink might not stick as it should, leading to less-than-ideal results.
And let’s not forget that leather can be a bit touchy about heat. Sublimation requires some serious heat, and leather might not appreciate it. You risk altering the leather’s natural characteristics or, worst-case scenario, damaging it.
Oh, and here’s the thing – genuine leather doesn’t come with that handy poly coating that makes sublimation work like a charm. So, it’s like trying to make a square peg fit into a round hole.
If you’re dead set on customizing leather items, maybe try laser engraving, embossing, or direct printing methods that are leather-friendly. They’ll likely give you better results without messing with the leather’s vibe.
But, if you’re really into sublimation, consider going for faux leather or some other synthetic material that’s designed for it. Trust me, it’s going to save you a lot of headaches and give you those vibrant, picture-perfect results you’re after!

Extra Tips for Sublimate on Faux Leather
Trying out sublimation on faux leather has been like going on a fun art adventure for me. Here are some things I’ve figured out that might help you like extra tips:
- Pick Good Faux Leather: Go for the nice faux leather that feels smooth. It makes a big difference in how your designs turn out.
- Clean It Well: Before you start, make sure the faux leather is super clean. I use a bit of mild soap or rubbing alcohol to get rid of any dirt or stuff on it.
- Test Before You Dive In: Try your designs on a tiny piece of faux leather first. It helps you get the colors and positioning just right without messing up your main project.
- Check Your Inks: Make sure the inks you’re using are friends with faux leather. Check what the ink package says to avoid any hiccups.
- Play with Press Settings: Mess around with the heat press settings. Finding the perfect temperature and pressure is like unlocking the secret to awesome designs.
- Cover It Up: Stick a protective sheet during pressing. It keeps your faux leather safe from getting too hot or sticky and makes everything smoother.
- Watch Out for Overlaps: Be careful if you’re putting multiple designs on one sheet. Sometimes colors can accidentally mix, and it doesn’t look great.
- Be Patient After Pressing: Wait a bit after pressing to let things cool down. Rushing might smudge your design, and that’s no fun.
- Extra Seal for Superpower: Sometimes, I use a clear varnish to seal my designs. It makes them tougher and protects them from everyday wear and tear.
- Mix Those Colors: Faux leather loves showing off bright colors. Try mixing different colors – it’s like creating your own little color adventure!
Conclusion
As I wrap up my journey into sublimating on faux leather, it feels like unlocking a creative treasure chest. Through this complete guide, I’ve discovered that the key to a successful venture lies in a series of thoughtful steps.
In my experience, the guide isn’t just about “How to Sublimate on Faux Leather”; it’s a roadmap to infusing personality and life into everyday items. It’s about embracing the experimental spirit, finding joy in the process, and watching your unique designs come to life on this versatile canvas.


2 comments