|
Listen to article
Getting your Trinity Audio player ready...
|
Hello again, sublimation lovers! If today you’re wondering how to make sublimation brighter on mugs and tumblers, you’re in the right place! Achieving vibrant and lively sublimation prints is like adding a splash of brilliance to your designs.
In this guide, I will walk through the exact steps to make your mug and tumbler creations stand out with vivid colors. Sublimation, the process of using heat and pressure to transfer designs onto surfaces, offers a unique way to bring your ideas to life. By following this easy-to-understand guide, you’ll learn the tricks to prepare the surface, manage colors effectively, and optimize the heat press for maximum brightness. Let’s go in and make your sublimation prints shine on mugs and tumblers!
Contents
How to make sublimation brighter on mugs
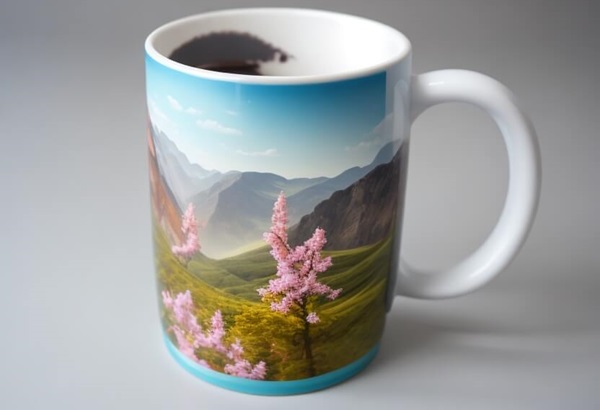
I am very happy to share with you how to make sublimation brighter on mugs. Making sublimation brighter on mugs involves paying attention to various factors, including the quality of materials, color management, and heat press settings. Here’s a step-by-step guide to help you achieve brighter sublimation prints on mugs:

- Choose High-Quality Sublimation Mugs: Start with high-quality sublimation-coated mugs. Ensure that the coating is even and free from defects, as this will significantly impact the final print quality.
- Prepare the Mug Surface: Clean the mug surface thoroughly before sublimating. Use a lint-free cloth and a mild cleaning solution to remove any dust, oils, or residues. This step is crucial for the sublimation ink to adhere properly.
- Use Quality Sublimation Inks: Invest in high-quality sublimation inks. The vibrancy of your prints depends on the ink’s color saturation. Make sure your inks are compatible with your sublimation printing system.
- Optimize Color Management: Calibrate your monitor and use color profiles to ensure accurate colors in your designs. Adjust the color settings in your graphics software to enhance vibrancy without oversaturating.
- Choose Bright and High-Contrast Designs: Opt for designs with bright colors and high contrast to make them visually appealing. Vivid and bold designs tend to stand out more on sublimated mugs.
- Preheat the Mug: Preheat the mug in your heat press before applying the design. This helps remove any moisture and prepares the surface for optimal ink transfer.
- Use the Right Heat Press Settings: Follow the recommended temperature, time, and pressure settings for your specific sublimation mug. Using the correct settings ensures that the sublimation ink fully penetrates the coating, resulting in a vibrant and durable print.
- Ensure Even Pressure: Make sure the pressure is evenly distributed during the heat press process. Uneven pressure can lead to inconsistent ink transfer and affect the brightness of the sublimated image.
- Post-Press Care: Allow the sublimated mug to cool completely before handling. After the process, avoid using abrasive materials for cleaning to preserve the print quality.
- Test and Adjust: Conduct test prints and make adjustments to your settings if needed. Not all mugs or printing systems are the same, so testing helps you fine-tune the process for optimal results.
By following these steps, you can enhance the brightness of your sublimation prints on mugs and create eye-catching, vibrant designs.
How to make sublimation brighter on tumblers
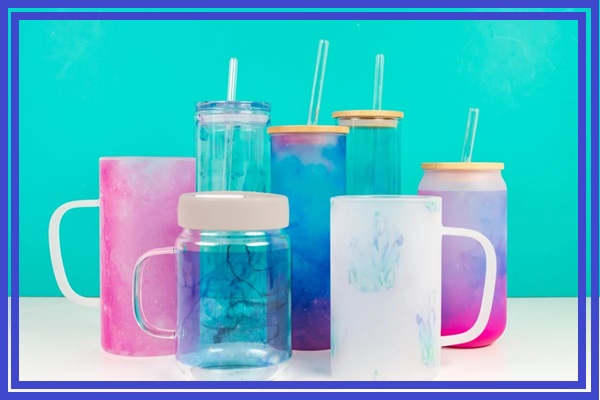
So, here’s how I made my sublimation prints on tumblers super bright and eye-catching:

- Choose Compatible Tumblers: Select tumblers that are suitable for convection oven sublimation. Ensure they have a sublimation-coated surface.
- Prepare Your Design: Create or choose a design with bright colors and high contrast, just like with the heat press method.
- Print Using Sublimation Paper: Print your design on sublimation paper using sublimation inks. Make sure to mirror the image before printing.
- Wrap the Tumbler: Carefully wrap the sublimation paper around the tumbler, securing it in place with heat-resistant tape. Ensure the design is positioned correctly.
- Preheat the Oven: Preheat your convection oven to the recommended temperature for sublimation (typically around 375°F or 190°C).
- Bake in the Oven: Place the wrapped tumbler in the preheated oven and bake for the specified time. The heat causes the sublimation inks to turn into gas, transferring the design to the tumbler.
- Cool and Unwrap: Allow the tumbler to cool before carefully unwrapping it. Be cautious, as the tumbler will be hot.
- Inspect and Adjust: Check the print for vibrancy and consistency. If adjustments are needed, you can experiment with different temperatures and baking times.
How can I make my sublimation prints brighter after using the heat press?
So, I wanted to share some tips from my experience on how to make your sublimation prints even brighter after the heat press:
- Cooling is Key: After the heat press, let your sublimated item cool down completely before getting hands-on. This gives the colors time to settle and makes the print more stable.
- Peel with Care: If you used sublimation paper, peel it off gently once everything is cool. A slow peel can prevent any unintended damage to your print.
- Close Inspection: Take a good look at your sublimated print. Check for any spots that might need a bit more brightness or areas where the color seems uneven.
- Repress for Perfection: If you spot any dull spots or uneven colors, don’t worry! You can try repressing the item. Cover it with a protective sheet and hit it with some heat in the press again. Just be careful not to overdo it.
- Temperature and Pressure Tweaks: Take a moment to review the temperature, time, and pressure settings you used during the first press. Small adjustments can sometimes make a big difference. Experiment a bit, but stay within the recommended limits.
- Give It Another Go: Some items benefit from a second pressing session. Let it cool completely after the initial press, then repeat the process. This extra step can really make the colors pop.
- Brightening Solutions: I’ve found some post-sublimation products specifically designed to brighten colors. Follow the instructions carefully, and they can bring out that extra vibrancy.
- Top-Notch Inks and Materials: Always use high-quality sublimation inks and materials. The better the ink and substrate, the brighter your final print will be.
- Protective Coating (If Needed): Consider applying a clear coating designed for sublimation over your print. It can add an extra layer of protection and sometimes even enhance the visual appeal.

FAQs
1. Why are my sublimation prints not as bright as I expected?
Possible reasons could include using low-quality sublimation materials, incorrect color management, or inadequate heat press settings. Review each step of the process to identify potential issues.
2. Can I use any type of mug or tumbler for sublimation?
It’s essential to use sublimation-coated mugs and tumblers designed for heat transfer. These specially coated surfaces enhance the vibrancy and durability of sublimated prints.
3. How do I prepare the surface of the mug or tumbler for sublimation?
Thoroughly clean the surface with a mild solution to remove any contaminants. Ensure the surface is dry and free from dust before proceeding with sublimation.
4. Is it possible to fix dull spots or uneven colors after the heat press?
Yes, you can try repressing the item or applying specific post-sublimation products designed to enhance colors. Carefully follow instructions and conduct tests to avoid over-processing.
5. Can I apply a protective coating to enhance sublimation brightness?
Yes, you can use sublimation-friendly clear coatings to protect the print and, in some cases, enhance its visual appeal. Ensure compatibility with sublimation inks and materials.
Conclusion
In wrapping up my experience in making sublimation brighter on mugs and tumblers, I’ve found that it’s all about the details and a bit of creativity. Starting with top-notch sublimation-coated mugs and tumblers makes a noticeable difference in the final vibrancy of the prints.
So, if you’re wondering how to make sublimation brighter on mugs and tumblers, it’s not just a one-time process; it’s an evolving journey. By staying curious, testing new ideas, and incorporating the tips from this guide, you’ll be on your way to consistently creating vivid and standout designs that truly shine. Cheers to brighter and bolder sublimation creations!


