If you’ve ever been dissatisfied with the temporary nature of your printer ink on fabric, you’re not alone in that struggle. In this expert guide, I’m thrilled to share with you a wealth of knowledge and proven techniques on “How to Make Printer Ink Permanent on Fabric.” Over the years, I’ve honed my craft and discovered methods that go beyond the conventional, ensuring that your prints not only captivate visually but endure through countless washes and wears.
If you’re a passionate DIY enthusiast, a dedicated textile artist, or someone eager to elevate your fabric printing game, this guide is designed to be your compass in navigating the intricacies of achieving permanence in every stroke of ink on the fabric. Join me on this journey as we unravel the secrets and unveil the expert strategies that will empower you to transform your fabric prints from fleeting impressions to timeless masterpieces.
How to set ink on fabric
Setting ink on fabric involves several methods to ensure that the ink adheres permanently to the fabric surface. Having spent years perfecting the art of setting ink on fabric, I’m excited to share my expert insights on achieving prints that are not only fascinating but endure the tests of time. Let me guide you through my tried-and-true process:
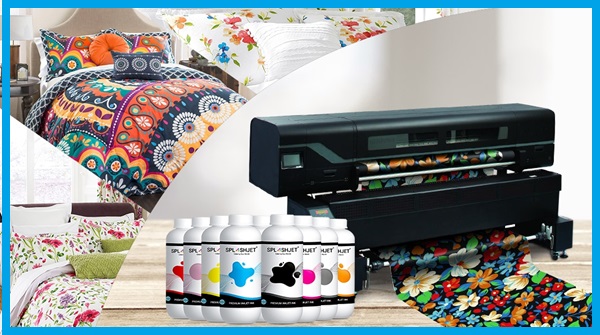
Materials I Used:
- Fabric with printed design
- Iron
- Press cloth or parchment paper
- White vinegar (optional)
- Commercial fabric fixative (optional)
Step 1: Patient Drying Phase
Ensure your printed fabric gets the respect it deserves by allowing the ink to dry completely. Rushing this step may lead to disappointing smudges, so follow the ink manufacturer’s drying time recommendations diligently.
Step 2: The Iron’s Magic Touch
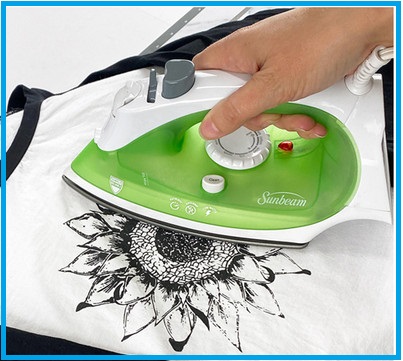
Prepare to wield your iron as a wand of permanence. Lay your fabric on a suitable surface and set the iron to the fabric’s recommended temperature (check the care label!). For heat-sensitive fabrics, don’t forget your trusty press cloth or parchment paper. Apply firm, even pressure with circular motions for a transformative 3-5 minutes.
Step 3: Steam Symphony (Optional)
If your iron is equipped with a steam setting, embrace it. Hover the iron slightly above the fabric, allowing the steam to weave its way into the printed masterpiece.
Step 4: Vinegar Elixir (Optional)
For natural fibers like cotton or linen, my secret weapon is a vinegar fixative. Mix equal parts white vinegar and water. Gently spray or sponge this concoction onto the fabric before the heat-setting ritual. Let it dry completely to enhance the ink’s bond.
Step 5: Commercial Charm (Optional)
In some quests for permanence, a commercial fabric fixative becomes the unsung hero. Follow the product’s script – apply it to the printed area and let it work its magic. Then, of course, comes the grand finale: heat-setting.
Step 6: The Art of Patience
As the heat sets in, patience becomes your ally. Allow the fabric to cool completely before even thinking about handling or washing.
Step 7: Washing Wisdom
Finally, when it comes time to wash your fabric, heed the ink and fabric care instructions. Turning the fabric inside out and opting for a gentle cycle can be the keys to preserving your creation.
How to Make Printer Ink Permanent on Fabric – Expert Tips
Achieving permanent prints on fabric involves attention to detail and the application of certain tips to enhance ink adhesion and longevity. Drawing from my extensive experience in the intricate world of fabric printing, let me share some invaluable tips on transforming printer ink into a permanent masterpiece on fabric:
1. Fabric Matters: Begin by selecting fabrics rich in natural fibers like cotton or linen. These materials act as a receptive canvas, allowing ink to bond more effectively.
2. Ink Quality is Key: Invest in top-notch, fabric-compatible printer ink. Quality ink plays a pivotal role in achieving vibrant and enduring prints.
3. Pre-Wash Ritual: Initiate the process with a fabric pre-wash. This step eradicates any sizing or finishes that could impede ink absorption. Ensure the fabric is thoroughly dry before proceeding.
4. The Art of Patience: Allow the printed fabric the luxury of time to dry completely. Rushing through this stage jeopardizes the ink’s adhesion and can result in unsightly smudges.
5. Iron Mastery: Unleash the transformative power of an iron to set your designs. Adjust the iron temperature based on the fabric type and employ a circular motion, offering an even embrace to the ink for 3-5 minutes.
6. Steam Symphony: Upraise the fixation process by engaging your iron’s steam setting. Float the iron slightly above the fabric, letting the steam weave its magic into the printed realm.
7. Vinegar Elixir: Unveil the secret of a vinegar fixative for natural fibers. Combine equal parts white vinegar and water, applying this elixir before heat-setting for enhanced ink adhesion.
8. Test and Confirm: Before embarking on the full journey, conduct a small test in a discreet area. This ensures harmony between the ink, fabric, and chosen method.
9. Gentle Washing: Treat your printed fabric with care during washing. Adhere to the recommended care instructions for both ink and fabric, employing a gentle cycle for a prolonged print life.
10. Avoid Harsh Chemicals: Protect your creation by avoiding harsh detergents and chemicals during washing. These elements can compromise the ink’s longevity over time.
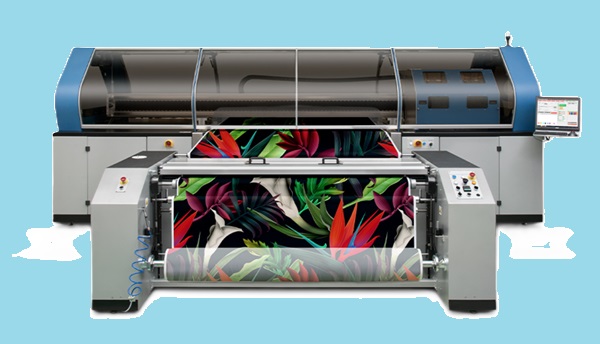
Special Tip: Consider printing your design in reverse or mirror image. When the design is transferred onto the fabric, the mirrored side will be in direct contact with the fabric. This can help protect the printed surface during washing and wear, as the side that faces outward is less exposed to friction and environmental factors. Reverse printing is particularly useful for text or intricate designs where longevity is a priority.
FAQs
Q: Why does printer ink sometimes fade on fabric?
Q: Can any fabric be used for printing with permanent results?
Q: What’s the significance of heat-setting in making ink permanent on fabric?
Q: Can I use a regular household iron for heat-setting?
Q: Are there alternatives to heat-setting for making ink permanent on fabric?
Q: What is a vinegar fixative, and how does it help?
Q: How long should I let the fabric dry before attempting heat-setting?
Q: What’s the role of a press cloth or parchment paper during heat-setting?
Q: How do I care for fabric prints to ensure their longevity?
Conclusion
Now you know how to make printer ink permanent on fabric. Then I can wrap up this expert guide. Through my years of experience, I’ve found that choosing the right fabric and quality ink sets the stage. Heat-setting, whether with a trusty iron or alternative methods, is the enchantment that ensures lasting impressions.
So, armed with this insider knowledge, step into your fabric printing realm. Let permanence be the signature of your creativity, making printer ink permanent on fabric a testament to your expertise.