|
Listen to article
Getting your Trinity Audio player ready...
|
If you’re into crafting or just want to add a personal touch to your stuff, you’re in the right place! Ever wondered how you could print your designs onto fabrics or other materials? And how to use sublimation paper with iron? Well, sublimation paper with an iron is the answer. It’s like magic – you print your design onto special paper, then use an iron to transfer it onto your chosen surface. Cool, right?
In this guide, we’ll break it down step by step. No fancy jargon, just easy-to-follow instructions and plenty of tips to help you get amazing results. So, if you’re ready to unleash your creativity and learn how to use sublimation paper with an iron like a pro, let’s get started!
How to use sublimation paper with iron
Imagine being able to print your favorite designs onto t-shirts, mugs, and other items right from the comfort of your own home. That’s the magic of iron sublimation! But how to use sublimation paper with iron? As someone who loves DIY projects and adding personal touches to everyday items, discovering iron sublimation was a game-changer for me. In this beginner’s guide, I’ll share my experience and walk you through everything you need to know to get started with iron sublimation printing.
Getting Started:
The first step in your iron sublimation journey is gathering your supplies. You’ll need sublimation paper, sublimation ink, a printer, a heat source (either a heat press or a household iron), protective paper or a Teflon sheet, blank sublimation-ready materials, and optionally, heat-resistant tape.

Choosing the Right Materials:
One of the key things to remember with iron sublimation is that it works best on materials with a high polyester content. This is because the sublimation ink bonds with the polyester fibers when heat is applied. Look for blank items specifically designed for sublimation printing, such as polyester t-shirts, mousepads, or mugs.
Preparing Your Design:
Once you have your materials ready, it’s time to create or choose your design. You can use graphic design software to create your own designs or purchase pre-made designs online. Make sure your design is sized correctly for the item you’re printing on and mirror the image before printing it onto your sublimation paper.
Printing Your Design:
Load your sublimation paper into your printer and print your design onto the coated side of the paper. Be sure to use sublimation ink, as regular ink won’t work for this process. Once your design is printed, allow it to dry completely before moving on to the next step.
Preparing for Transfer:
Now that your design is printed, it’s time to prepare for the transfer process. Place your blank sublimation-ready item on a flat surface and preheat your heat press or iron to the recommended temperature for sublimation printing. If you’re using an iron, make sure to set it to the appropriate heat setting for the material you’re printing on.
Transferring Your Design:
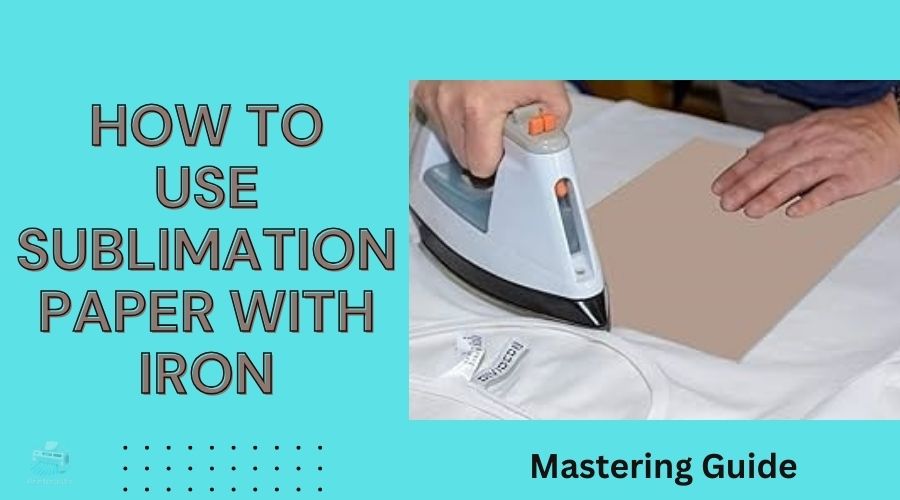
Once your heat source is preheated, place your sublimation paper with the printed design facing down onto the surface of your item. If you’re using an iron, apply firm pressure and move the iron in a steady motion across the entire surface of the paper for the recommended amount of time. If you’re using a heat press, follow the manufacturer’s instructions for time and pressure settings.
Finishing Touches:
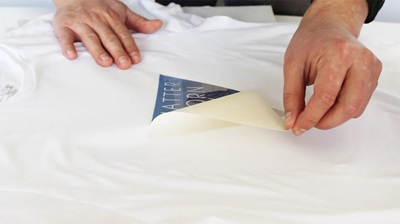
After the transfer process is complete, carefully remove the sublimation paper from your item. Your design should now be transferred onto the surface, creating a vibrant and long-lasting print. Allow your item to cool completely before handling or washing it to ensure the ink has fully set.

Tips:
If you encounter any issues during the printing process, don’t worry! Here are a few common troubleshooting tips to help you troubleshoot:
- Make sure your heat source is set to the correct temperature for sublimation printing.
- Check that your sublimation paper is loaded into the printer correctly and that your design is printed onto the coated side of the paper.
- Ensure that you’re using sublimation ink, as regular ink won’t work for this process.
- If you’re experiencing fading or dull colors, try increasing the pressure or extending the pressing time slightly.
Experiment and Have Fun:
Iron sublimation printing is a versatile and fun way to add personalized touches to a wide range of items. Don’t be afraid to experiment with different designs, materials, and techniques to find what works best for you. With practice and patience, you’ll be creating professional-quality prints in no time!
What kinds of irons are suitable for sublimation printing?
When I first started experimenting with sublimation printing at home, I was curious about whether I could use a regular household iron instead of investing in a heat press. After some trial and error, I discovered that yes, you can use an iron for sublimation printing, but not just any iron will do.
I found that the key to success lies in choosing the right type of iron. I started by looking for one with adjustable temperature settings. This was important because sublimation requires precise heat control, and being able to set the iron to the correct temperature for the material I was printing on made a big difference in the quality of my prints.
Another thing I learned was the importance of even heat distribution. I opted for an iron with a flat, non-stick soleplate, which helped ensure that heat was evenly distributed across the entire surface of my sublimation paper. This prevented any hot spots and resulted in smoother, more consistent transfers.
I also made sure to choose an iron without a steam function. Steam can interfere with the sublimation transfer process and affect the quality of the print, so it’s best to use an iron that can be used without water in the reservoir or has a steam-off option.
Considering the size and weight of the iron was important too. Since I knew I’d be using it for extended periods, I wanted something lightweight with a comfortable grip. This made the printing process much more manageable and comfortable, especially when working on larger projects.
Lastly, safety features were a priority for me. I looked for an iron with an automatic shut-off function to prevent overheating and accidental burns, which gave me peace of mind, especially during longer printing sessions.
Overall, my experience taught me that while you can use a regular household iron for sublimation printing, choosing the right iron with adjustable temperature settings, even heat distribution, no steam function, comfortable size and weight, and safety features is key to achieving consistent and high-quality results.

FAQs
1. Can I use an ironing board for sublimation printing?
It’s not recommended to use an ironing board for sublimation printing because it may not provide a flat, stable surface for the transfer process. Instead, use a firm, heat-resistant surface such as a table or countertop covered with a protective layer.
2. How long does it take for the design to transfer onto the material?
The transfer time can vary depending on factors such as the type of material, heat source, and pressure applied. Typically, the transfer process takes anywhere from 30 seconds to a few minutes.
3. Can I wash items printed with sublimation ink?
Yes, items printed with sublimation ink can be washed, but it’s recommended to follow specific care instructions to ensure the longevity of the print. Avoid using harsh detergents or bleach, and wash the items in cold water on a gentle cycle.
Conclusion
As I wrap up my journey mastering how to use sublimation paper with iron, I’m filled with a sense of accomplishment and excitement. Through experimentation and learning, I’ve honed my skills in creating professional-quality prints right from home. Armed with this knowledge, I’m eager to continue exploring the endless possibilities of personalized creations using sublimation paper with an iron.


