|
Listen to article
Getting your Trinity Audio player ready...
|
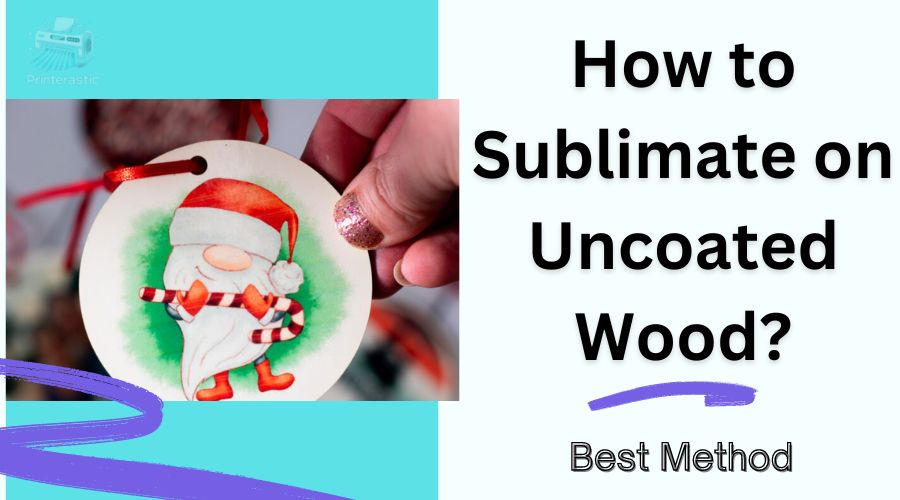
Uncovering how to sublimate on uncoated wood has been a game-changer in my crafting journey. Initially, I was hesitant, unsure if my designs would truly come to life on such a surface. But as I delved deeper, experimenting with various techniques and honing my skills, I uncovered a world of artistic possibilities.
Now, I’m excited to share my experience and insights with you. Join me as we explore the best methods for bringing vibrant designs to uncoated wood, turning raw materials into personalized masterpieces that captivate and inspire.
Contents
- 1 What is the difference between coated and uncoated wood for sublimation?
- 2 How to Sublimate on Uncoated Wood
- 3 FAQs
- 3.1 1. Can I sublimate directly onto uncoated wood?
- 3.2 2. Do I need to apply a sublimation coating to uncoated wood?
- 3.3 3. Can I use any sublimation ink and paper for sublimating on wood?
- 3.4 4. Can I apply a finish or sealant to the sublimated wood?
- 3.5 5. How do I prevent smudging or smearing of the sublimated image?
- 3.6 6. Is sublimating on uncoated wood suitable for outdoor use?
- 4 Conclusion
What is the difference between coated and uncoated wood for sublimation?
When it comes to sublimation, the disparity between coated and uncoated wood is akin to night and day. Coated wood, typically treated with varnish or another protective layer, offers a smooth and consistent surface for sublimation printing. The coating acts as a barrier, ensuring that the sublimation ink adheres uniformly, resulting in sharp and vibrant images.
On the flip side, uncoated wood presents a raw and textured canvas for sublimation. Without the protective coating, the ink absorption varies across the surface, leading to more unpredictable results. Sublimating on uncoated wood demands careful preparation, such as sanding and priming, to promote ink adhesion and prevent blotchiness.
Ultimately, the choice between coated and uncoated wood hinges on the desired aesthetic and level of control. Coated wood offers reliability and consistency, while uncoated wood allows for a more organic and rustic appeal. Both present unique challenges and opportunities for sublimation artists, each with its own distinctive charm.
You can also like to know How to sublimate acrylic keychains? A Step-by-Step Guide
How to Sublimate on Uncoated Wood
Starting the journey of how to sublimate on uncoated wood was both exhilarating and daunting for me. I’d honed my sublimation skills on traditional substrates like ceramic and fabric, but the allure of the rustic, natural appeal of wood drew me in. Here’s a detailed account of my experience:
Choosing the Perfect Wood
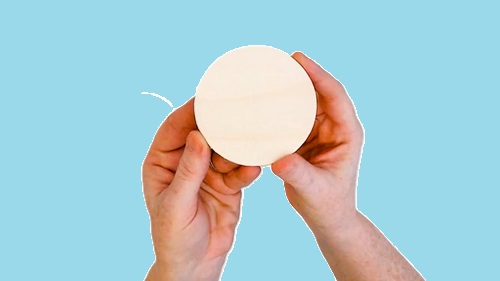
My first step was crucial – selecting the right type of wood. I opted for birch plywood, known for its smooth surface and durability. After scouring local suppliers, I found the perfect sheets, free from knots and imperfections.

Preparing the Surface
Sanding became my ritual. With fine-grit sandpaper in hand, I meticulously smoothed out every inch of the wood, ensuring a pristine canvas for my designs. Wiping away the dust, I admired the raw beauty of the wood grain, eagerly anticipating the transformation to come.
Exploring Sublimation Coatings
While debating whether to apply a sublimation coating, I delved into research. Some swore by it for enhanced color vibrancy and longevity, while others preferred the raw, organic feel of uncoated wood. Ultimately, I decided to experiment with both approaches, embracing the journey of discovery.
Designing and Printing
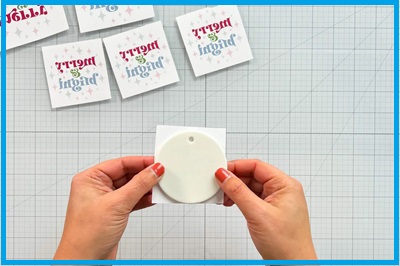
With my designs ready, I fired up my dye-sublimation printer and carefully transferred them onto sublimation transfer paper. Mirroring each image was crucial to ensure they transferred correctly onto the wood surface.

The Heat Press Moment
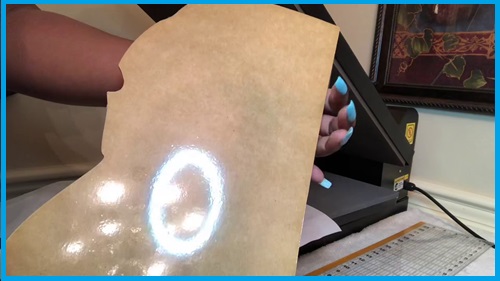
As I preheated my heat press, anticipation surged through me. Placing the wood and transfer paper assembly onto the press, I took a deep breath and pressed down firmly, the heat enveloping the wood like a warm embrace.
Reveling in the Results
Peeling back the transfer paper felt like unwrapping a precious gift. Each vibrant hue and intricate detail seemed to come alive against the raw backdrop of the wood. Some designs benefitted from the sublimation coating, boasting heightened saturation and clarity, while others embraced the natural texture of uncoated wood, exuding a charmingly rustic allure.
Finishing Touches
To seal or not to seal? It became my final dilemma. For some pieces, I opted to leave them as is, embracing the tactile warmth of uncoated wood. Others, I chose to protect with a clear sealant, preserving their beauty for years to come.
Reflecting on the Journey
As I admired the fruits of my labor, I couldn’t help but marvel at the transformative power of sublimation on uncoated wood. Each piece told a story – of experimentation, discovery, and the boundless possibilities of artistic expression.
In the end, my experience with sublimating on uncoated wood transcended mere technique. It was a journey of self-discovery, a testament to the beauty that emerges when craftsmanship meets creativity.
Extra tips for sublimating on wood
Here are some tips based on my experience with sublimating on wood:
- Choose the Right Type of Wood: It’s crucial to start with the right kind of wood. Look for smooth surfaces like birch plywood or maple to ensure the best results.
- Prepare the Wood Surface: Before you start sublimating, take the time to sand the wood surface with a fine-grit sandpaper. This will help smooth out any imperfections and create a better canvas for your designs.
- Use High-Quality Sublimation Ink and Paper: Investing in top-notch sublimation ink and paper is key. It ensures vibrant colors and long-lasting results. Make sure to use paper specifically designed for wood substrates.
- Adjust Your Design for Wood: Keep in mind that wood absorbs ink differently than other materials. Adjust your design by increasing contrast and saturation to compensate for this natural absorbency.
- Experiment with Different Coatings (Optional): You might want to try applying a sublimation coating designed for wood. It can enhance ink adhesion and color vibrancy. Experiment with different coatings and application methods to find what works best for you.
- Ensure Proper Heat Press Settings: Setting your heat press to the right temperature and pressure is crucial. Aim for around 380-400°F (193-204°C) and medium to high pressure. Use heat-resistant tape to secure the transfer paper in place during pressing.
- Practice Proper Heat Press Technique: Make sure you’re applying even pressure and heat across the entire wood surface. Avoid overheating or underheating, as it can lead to inconsistent results.
- Allow Sufficient Cooling Time: After pressing, let the wood cool completely before removing the transfer paper. This ensures that the sublimated image sets properly without smudging or smearing.
- Experiment with Finishing Techniques: Depending on your preferences, you can leave the sublimated wood as is for a natural look, or apply a clear sealant or polyurethane spray for added protection and durability.
- Practice Patience and Persistence: Sublimating on wood may require some trial and error. Don’t get discouraged if things don’t go perfectly right away. Keep experimenting and learning from your experiences.

FAQs
1. Can I sublimate directly onto uncoated wood?
Yes, you can sublimate directly onto uncoated wood. However, it’s important to properly prepare the wood surface to ensure optimal results.
2. Do I need to apply a sublimation coating to uncoated wood?
While not necessary, applying a sublimation coating designed for wood can enhance ink adhesion and color vibrancy. It’s optional but may yield better results, especially for intricate designs.
3. Can I use any sublimation ink and paper for sublimating on wood?
It’s recommended to use high-quality sublimation ink and paper specifically designed for wood substrates. This ensures vibrant colors and long-lasting results.
4. Can I apply a finish or sealant to the sublimated wood?
Yes, applying a clear sealant or polyurethane spray is optional but recommended for added protection and durability. It can also enhance the appearance of the sublimated image.
5. How do I prevent smudging or smearing of the sublimated image?
Allow the sublimated wood to cool completely before removing the transfer paper. This ensures that the image is set properly and reduces the risk of smudging or smearing.
6. Is sublimating on uncoated wood suitable for outdoor use?
Sublimating on uncoated wood may not provide sufficient protection against outdoor elements. If you intend to use the sublimated wood outdoors, consider applying a weatherproof sealant for added durability.
Conclusion
Mastering the technique of sublimating on uncoated wood has been an exciting journey for me. Through trial and error, I’ve discovered the importance of proper surface preparation, high-quality materials, and precise heat press settings. Whether opting for the natural allure of uncoated wood or experimenting with sublimation coatings, each step has been a lesson in patience and creativity.
Now, armed with this knowledge, I’m empowered to turn raw wood into personalized masterpieces that showcase my artistic vision. How to sublimate on uncoated wood isn’t just a question; it’s a pathway to unlocking boundless creative potential.


